

IDEAL Smart Grip™
Modular Tool Handle Design
Design a modular, ergonomic handle for a line of electrician’s tools that can fit a variety of tools to reduce the number of SKUs required for the line of tools.
This product went into production in late 2020 and is currently on the market.

IDEAL, a company that designs and manufacturers tools for professional electricians, came to us to develop a modular handle design that would fit seven of their most popular tools. We used a previous handle design project, which incorporated a blue/gray material split, as inspiration while also considering additional details we could add that would benefit the design, ergonomics, and brand recognition of the handle.
The goal of this project was to extend the visual brand language for a tool we had previously designed. The client wanted to create one SKU that could fit on seven different tools.
Concept Exploration
Looking at the stack-up of tools helped us understand the extremes that the form needed to accommodate. We started our exploration focusing on the small tools and then translated that into the larger dimension for the set of larger tools.


Refined Handle Design
Concepts 3 and 5 were both favored by the client so we decided to use elements of the two. In the refined design, we combined the rugged edges and chamfered bottom of concept 3 with the soft ribbing details and material split of concept 5.


Design direction across two handle sizes and seven tool types

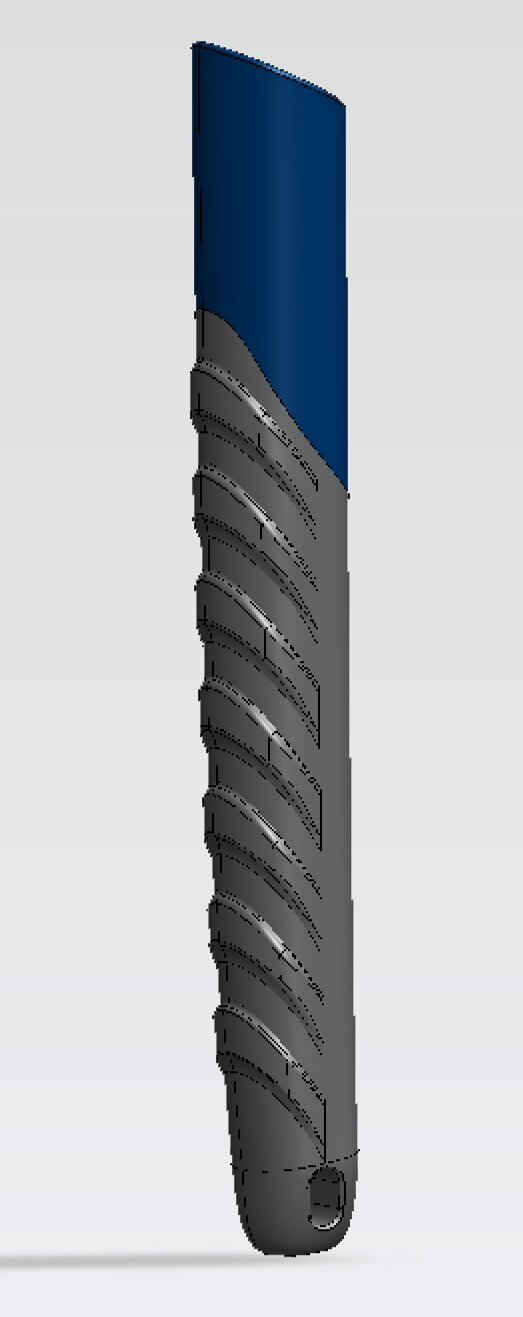
Initial CAD Development
This design was intended to be a two-shot mold, with the blue portion continuing underneath the gray. After discussing the design with our client’s injection molding experts, we discovered that there needed to be a portion at the bottom of the tool where the blue came through the gray in order to get a more consistent outcome in manufacturing.
After developing the initial CAD, we 3D printed a series of handles to test size and ergonomics. Once the exterior form was finalized, we shelled out the handle and broke it into two parts for molding. These pieces were 3D printed so that we could test the tolerance of the inside cavity and ensure that the flexible material it would be manufactured in would form around each tool’s handle as intended.
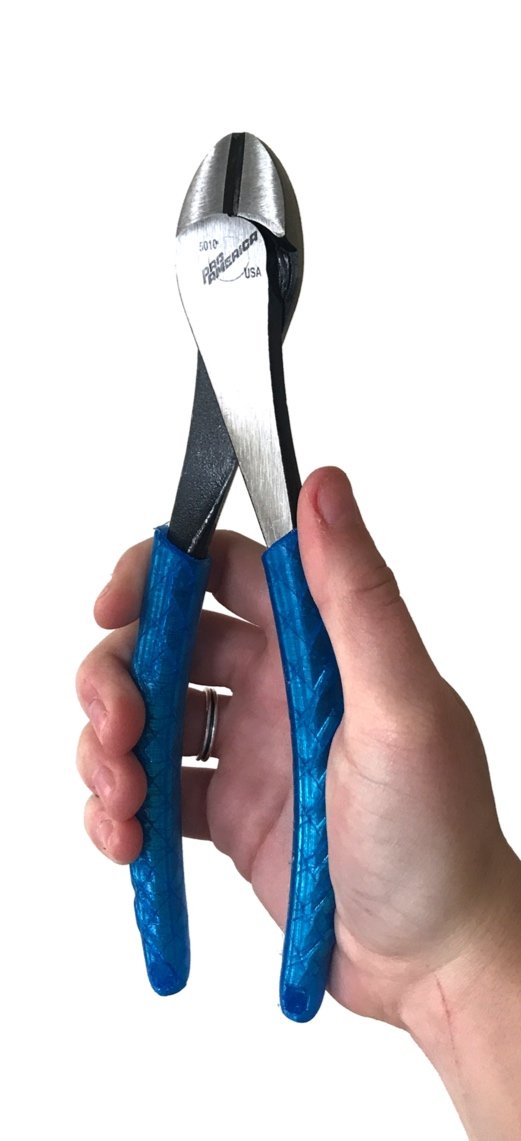
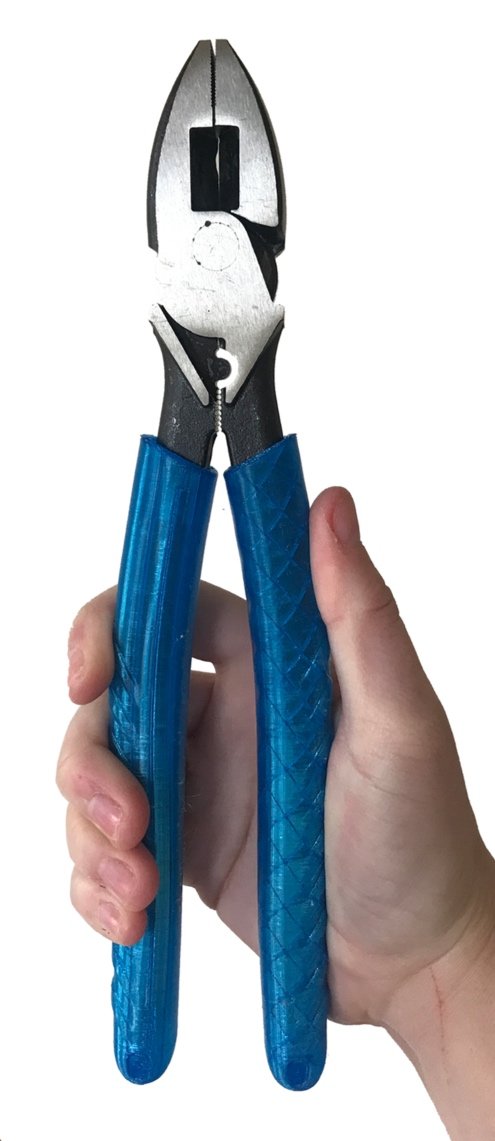
Refined CAD Development
After applying the logo at the bottom as intended, we realized it was crowding the ribbed features. We explored multiple options that would still include blue at the bottom for molding purposes. In the end, we decided to make the ribbing details get progressively smaller towards the bottom in order to keep the logo in the intended position without compromising the design.


